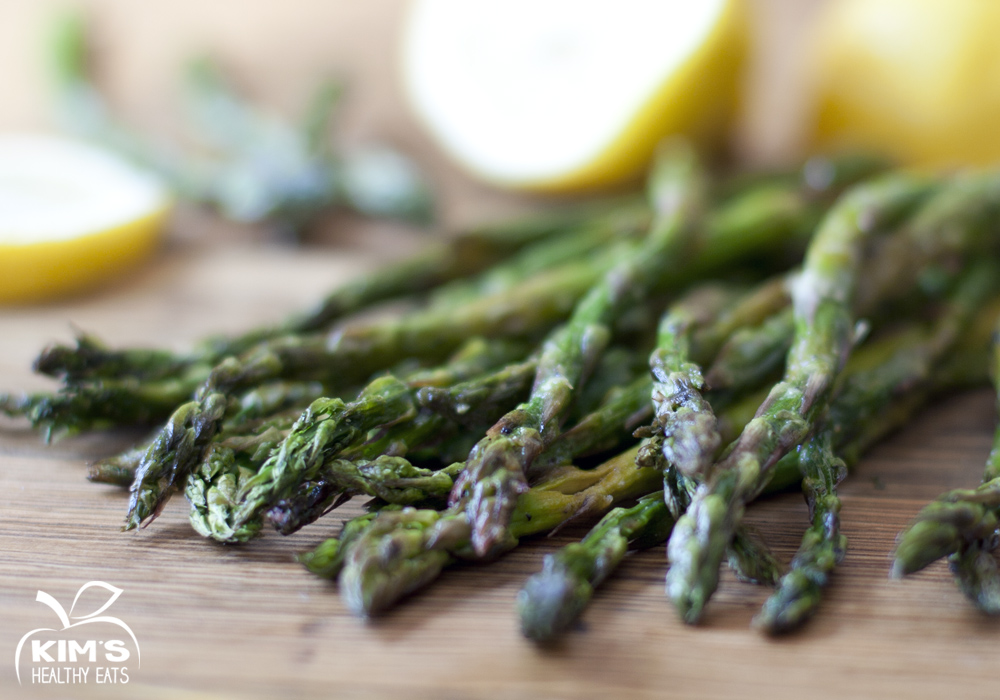
Spring is in the air! It’s time to get out the grill. Grilling is one of my favorite ways to prepare veggies, or anything really. It makes food taste great and there’s so much less to clean up.
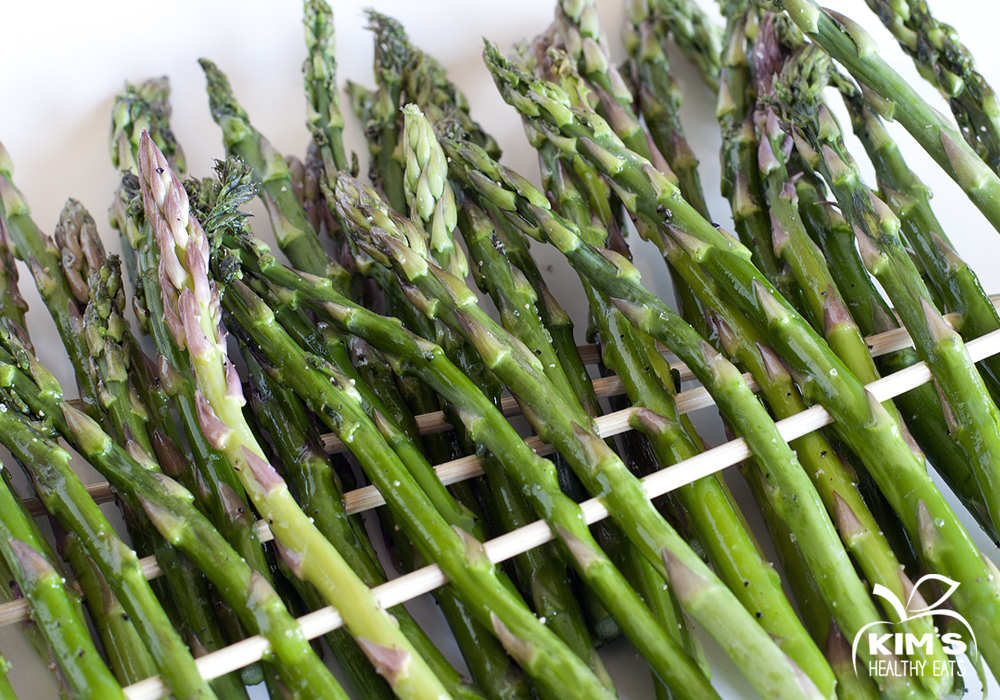
Asparagus is a great vegetable for the grill. You can wrap them in tin foil or just throw them right on. Skewing the asparagus makes it easier to flip and prevents them from falling down into the grill.
 When removing the woody ends of the asparagus, hold the spear firmly in each hand. Bend the asparagus and it will naturally snap at the perfect spot.
Vinaigrette Ingredients
- 1 teaspoon Dijon mustard
- 1 tablespoon olive oil
- ½ lemon, juiced
- ½ teaspoon rice wine vinegar, or any white vinegar
- ½ teaspoon dried tarragon
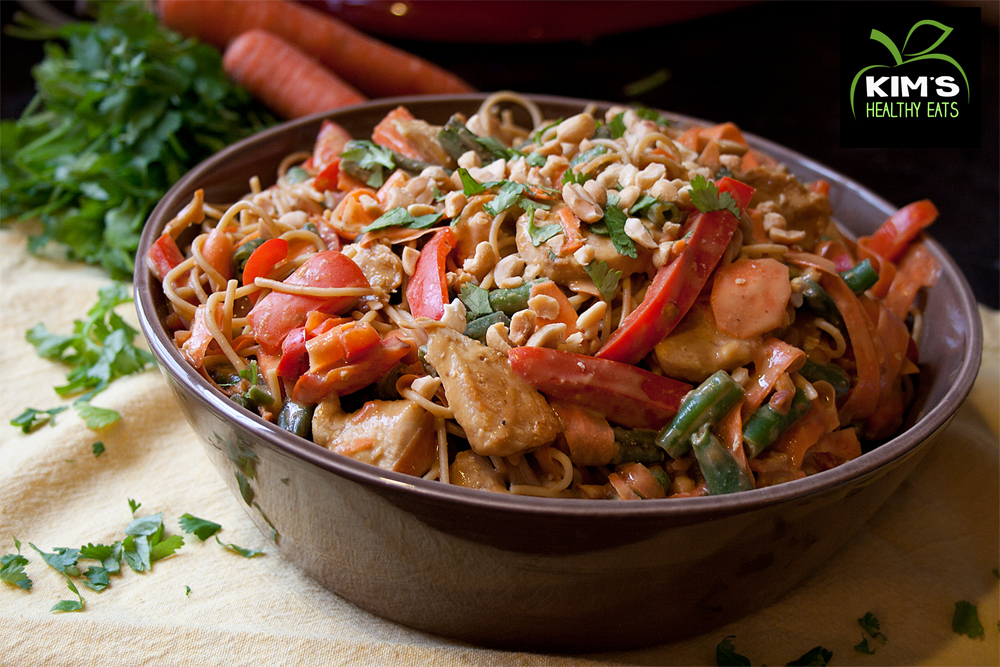
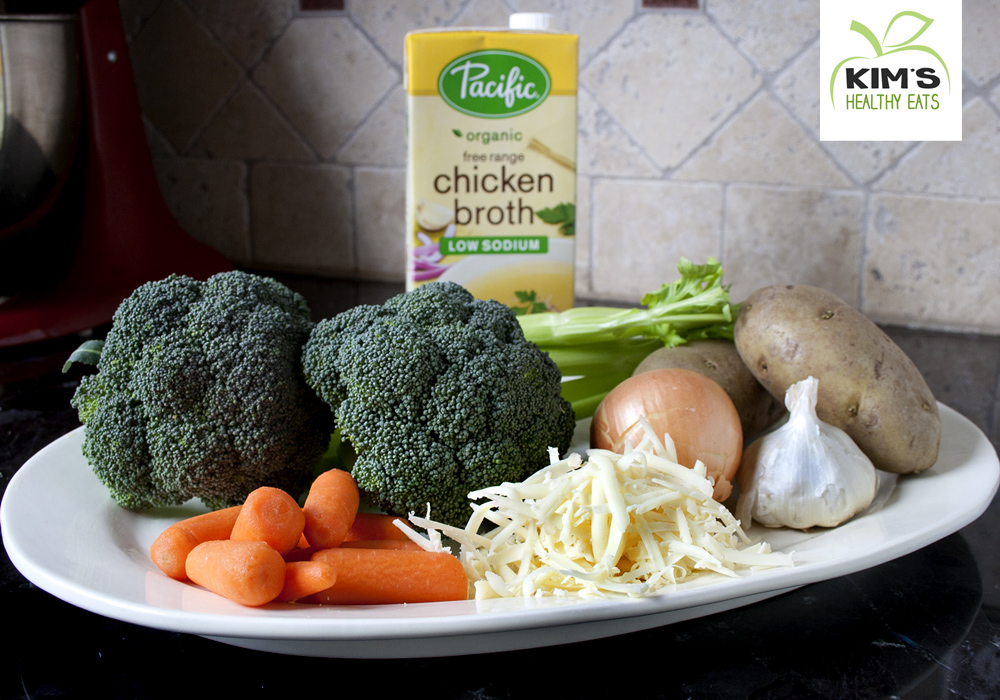
Ingredients
- 1 pound fresh asparagus with stems removed (see tip)
- 1 tablespoon of olive oil
- Salt and pepper to taste
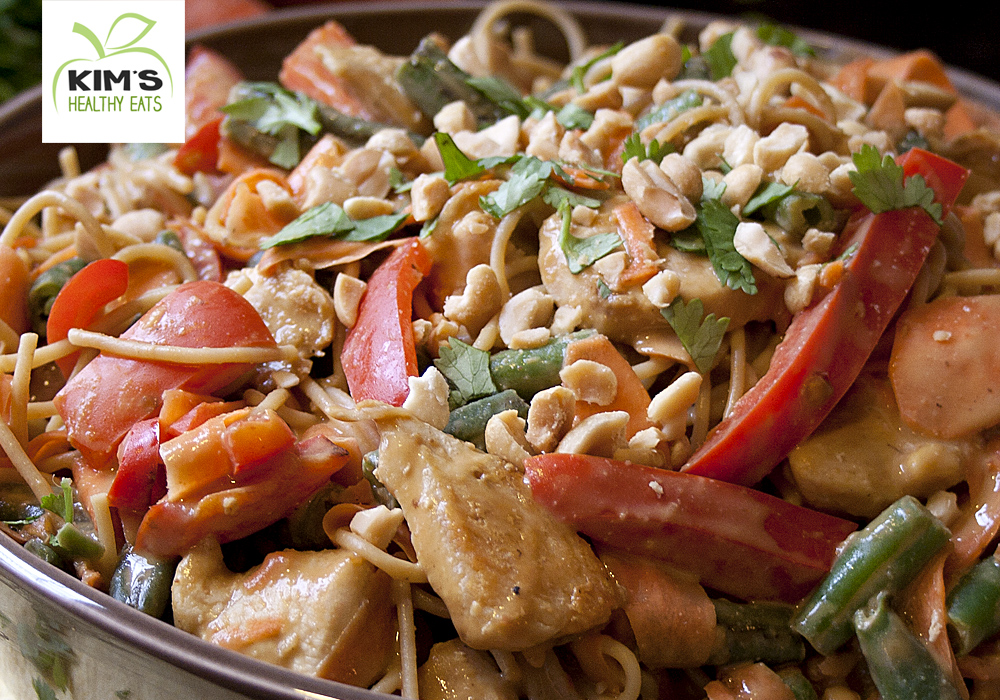
Directions
- Heat grill over high heat.
- In a bowl, coat asparagus with olive oil and salt and pepper. Skewer asparagus on metal or wooden skewers. If using wooden skewers, make sure you soak them first so they don’t catch on fire.
- Place skewered asparagus on the grill and cook on each side for about 3 minutes or until desired tenderness. They will start to caramelize and turn brown.
For the vinaigrette
- Mix all ingredients in a small bowl with a whisk and set aside.
- Place grilled asparagus in serving bowl and top with vinaigrette.
Enjoy!